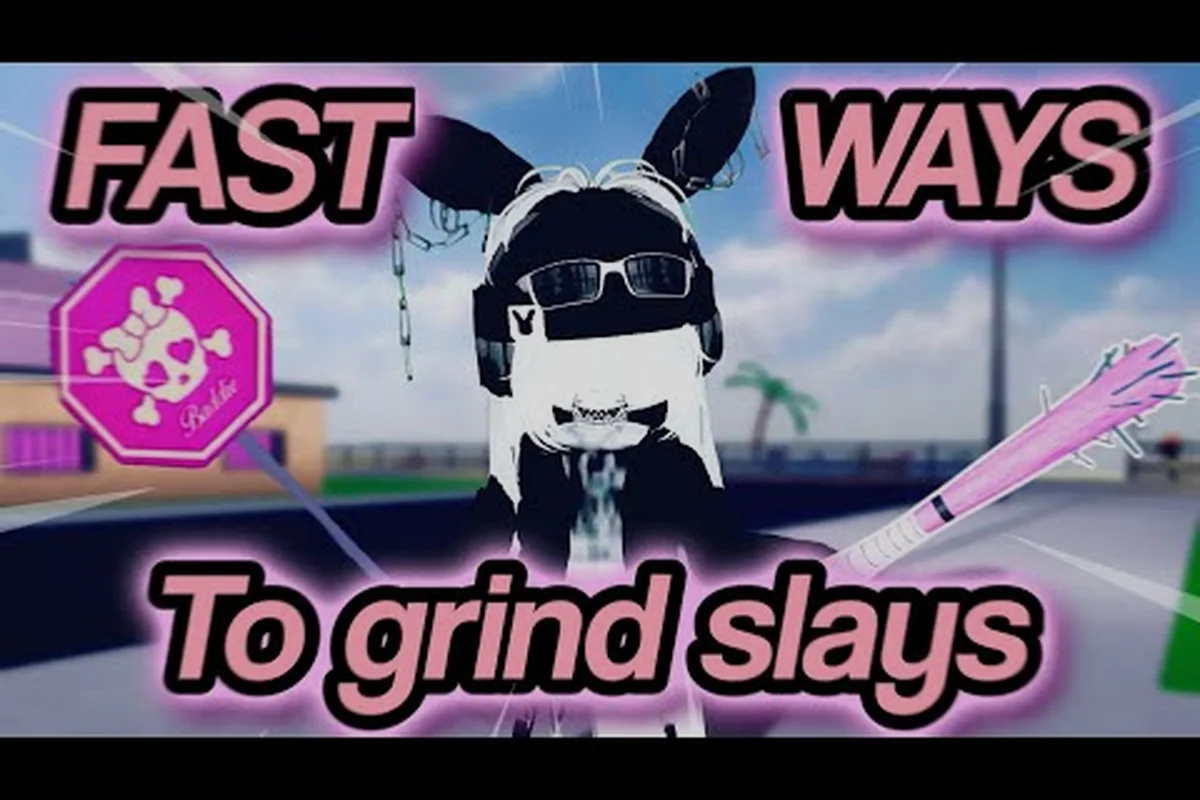
Baddies drops new players straight into a Roblox street brawl where timing beats stats, and the official aera's Baddies footage confirms that fights resolve through the fists tool, a blue charge bar, and a hair-pull-and-stomp finish. Your baddies getting started phase is short, but every step teaches the timing language you'll use for the rest of the game.
What Baddies Actually Feels Like In The First Ten Minutes
Baddies is a free-to-play Roblox brawler from Meow Meow Games, launched in October 2022 and updated almost every weekend since. According to community reports compiled by the creator, the core loop is intentionally simple: equip fists, land hits, build the blue charge bar, spend it on a hair pull, then stomp a knocked-down rival to finish. The result is a game that reads like a slap-fight rhythm puzzle disguised as a sandbox brawler.
When you first spawn, the world feels overwhelming because everyone around you already has weapons, emotes, and cash flowing in. Don't try to copy them. The first ten minutes are for learning what your character can already do with nothing equipped, because the bare-hand combat is the skill ceiling that every weapon builds on.
The Three Resources You Watch From Minute One
Three bars and counters drive almost every early decision during your baddies first hour, and each one punishes neglect in a different way. The Blue Charge Bar gates your combo openers, Stamina dictates whether you can chase a fleeing target or escape a Hair Pull chain, and floating Cash is the only currency that respawns vendors between rounds. Treat the table below as your HUD checklist before spending a single dollar on weapons or heals.
| Resource | What It Tracks | Visual Cue | Why It Matters Early |
|---|---|---|---|
| Blue Charge Bar | Hits landed without getting staggered | Fills near your hotbar | Unlocks Hair Pull, the core combo opener |
| Stamina / Energy | Run, dodge, and weapon swings | Depletes during sprint and attacks | Running dry at the wrong moment is the #1 reason new players lose trades |
| Cash | Slay rewards, pickups, and mops | Hovers above your head | Buys food, weapons, and small heals at vendors |
Watching these three numbers is the foundation of every baddies new player guide worth its salt, because the Blue Charge Bar doesn't just track damage — it gates Hair Pull (usually at 4–5 landed hits), the single highest-damage opener you can land for zero stamina cost during a vendor respawn. Beginners who ignore the blue bar waste the most important resource in the game: free combo opportunities that would otherwise let you chain a target into a vendor wipe without spending a single stamina swing, turning a 12-second trade into a clean round reset. Treat that bar like a second cooldowns tracker, not a flavor meter.
Why Timing Beats Raw Damage
New players almost always chase the biggest weapon in the shop. Veterans do the opposite, because fights in Baddies are resolved by who lands the next clean hit during the opponent's recovery frames, not by who holds the rarest tool. A single clean fist hit builds more value than a whiffed swing with a premium bat, because the hit feeds the blue bar and the whiff only feeds the opponent's punish window.
The developers reinforced this design by keeping the fists tool permanently free and always equipped. You can always practice the timing layer of the game without spending cash, and that practice transfers directly to every weapon you pick up later.
The Core Fists Loop And How To Chain It
The fists loop is the spine of any baddies first hour guide, and once you internalize it, every other weapon becomes a flavor swap on top of the same five-step chain. Each step has a visible cue, so you can self-correct without watching a tutorial.
Step-By-Step Breakdown Of One Full Exchange
The exchange below is a clean fist chain built from the same five inputs you would use in any real fight — Shift-walk, switch to fists, click on a hitbox, spend the Blue Charge Bar on Hair Pull, then stomp the knockdown. Treat it as a fist chain checklist and loop it inside a low-traffic server until the inputs feel automatic, because that one chain is the cheapest way to learn distance, stun timing, and the respawn economy before you ever pick up a weapon.
| Step | Action | Input | What Happens On Screen | Mistake To Avoid |
|---|---|---|---|---|
| 1 | Approach with Shift held | Hold Shift | Sprinting drains stamina, don't hold it forever | Spriting straight into a swung weapon |
| 2 | Equip fists if they aren't already | Press the tool slot | Fist icon glows in your hotbar | Forgetting to switch off a weapon mid-swing |
| 3 | Land 3-4 clean hits | Click on a rival's hitbox | Blue Charge Bar fills, hits land with a thud | Whiffing at max range where the hitbox is thinnest |
| 4 | Spend the bar on Hair Pull | Activate the charged move | Rival stumbles forward, hair animates | Burning the bar before the rival is near a wall |
| 5 | Wait for knockdown, then stomp | Click the downed rival | Rival is eliminated, you earn a slay | Stomping too early and missing the interaction window |
A single successful chain is worth more than ten messy button mashes, because each clean hit teaches the engine something about your rhythm and feeds the Blue Charge Bar at a predictable rate — once you feel the bar tick upward on every landed hit, you stop guessing when Hair Pull is available. The chain is also your safest learning environment, since fists cost nothing, respawn instantly, and let you test wall proximity, knockdown windows, and stomp timing without burning ammo or risking a weapon swing punish from a retaliating rival.
How The Blue Charge Bar Changes Your Decision Tree
The Blue Charge Bar is the most misunderstood UI element in the game, and once you treat it as a resource with diminishing returns, your win rate climbs fast. The table below shows the three charge thresholds and what each one lets you do.
| Charge Level | Unlocked Action | Risk | Best Use Case |
|---|---|---|---|
| First third | Faster combo recovery | Low | Trades where you want to keep momentum |
| Two thirds | Hair Pull ready | Medium | Openers against unaware rivals |
| Full bar | Guaranteed Hair Pull + bonus damage | High if whiffed | Finishing a stunned or cornered target |
Spend the bar when the rival is committed to a swing or trapped against geometry, not the instant it fills. A wasted Hair Pull gives your rival a free punish window, which is exactly how new players feed kill streaks to experienced players.
Your First Hour, Minute By Minute
A baddies first hour guide is only useful if it tracks the real timer, not a vague "play more." The schedule below assumes a 60-minute session in a public server, with the first five minutes reserved for menu reading and the rest split between practice, exploration, and your first real fights.
0-10 Minutes: Learn The Engine
Spend the first ten minutes walking, sprinting, jumping, and punching test dummies or low-level players who are already brawling. The point is to feel how the fists tool connects, how stamina regenerates, and how the camera tracks a moving target. This is also the best window to rebind Shift to a comfortable key if the default feels awkward.
10-25 Minutes: First Real Trades
By minute ten, you should be looking for one-on-one fights against players who are also learning. Stay away from crowds, because multi-rival engagements punish indecision harder than a clean one-on-one. This is also when you should be watching the Blue Charge Bar like a hawk and learning to recognize the visual cue for a fully charged bar.
25-45 Minutes: Map Awareness And Vendor Routes
The second half of your first hour is for learning the map, finding vendors, and understanding the safe zones where fights break out. According to community testing, the most consistent cash in the first hour comes from vendor food respawns and from mop-ups of players who just respawned, not from chasing the loudest brawl in the center of the map.
If you want a structured walkthrough of where to stand and what to buy first, the baddies best start guide covers the early-game vendor route in detail. Treat this hour as the foundation, and the vendor route as a checklist you repeat for the next few sessions.
45-60 Minutes: First Real Win Condition
The last fifteen minutes of your first hour should end with at least one clean five-step chain, which means one full fists loop from approach to stomp. If you haven't finished anyone yet, slow down and spend the final fifteen minutes watching high-level players in a busy server. Reading how veterans chain the same five steps is faster than grinding random fights.
Choosing Your First Weapon Without Burning Cash
Weapons in Baddies rotate frequently because the developers ship weekend updates, and the pool shifts with almost every patch. A baddies full guide has to acknowledge that any specific weapon recommendation can age out within weeks, so the table below focuses on the weapon categories and what each one teaches you, rather than naming a single current meta pick.
| Weapon Category | What It Teaches | Best Practice Partner | Cash Cost To Try |
|---|---|---|---|
| Bats / Blunt Weapons | Timing and spacing | Fists (free) | Low |
| Knives / Fast Weapons | Close-range pressure and stamina management | Fists (free) | Medium |
| Heavy Two-Handed | Commitment windows and punish reads | Food buffs (low cost) | High |
| Ranged / Throwables | Map control and target leading | Cover and walls | Variable |
Spend the first hour on bats and blunt weapons if you can afford them, because they share the fists timing layer almost exactly. Knives feel very different because their stamina drain is brutal, and heavy weapons punish the wrong reader far harder than a bat ever will. Save the ranged category for session two, once you understand the map's sight lines.
The Hidden Cost Of Switching Tools Mid-Fight
One of the most common beginner mistakes captured in any baddies beginner mistakes breakdown is the mid-fight tool swap. Switching tools costs a small chunk of stamina, and during that animation your character cannot block, dodge, or swing. The table below shows the typical stamina hit from a swap compared to a fist swing.
| Action | Stamina Cost | Cancel Window | Punish Risk |
|---|---|---|---|
| Fist swing | Low | Mid-swing | Low |
| Weapon swap | Medium | None until the swap finishes | High |
| Sprint to cover | Medium | Anytime you release Shift | Low |
If you find yourself swapping tools in the middle of every fight, you're probably carrying too many weapons. Most veterans run one primary weapon and rely on fists as a backup, because fists cost nothing, build the Blue Charge Bar fastest, and never break from a stamina crash.
Reading The Map And Avoiding Bad Fights
Maps in Baddies feel chaotic because the player count is high and the safe zones are small, but the underlying layout is simpler than it looks. There are typically three zones in any given server: a crowded brawl pit in the center, narrow side alleys that funnel movement, and quiet vendor strips along the edges. Knowing which zone you're standing in tells you what kind of fight is about to happen.
| Zone | Player Density | Best Activity | Risk Level |
|---|---|---|---|
| Central Pit | Very high | Group brawls, slap-fight chains | High |
| Side Alleys | Medium | One-on-one duels, ambushes | Medium |
| Vendor Strip | Low to medium | Buying food, regen breaks, gear swaps | Low |
Spend the second hour rotating between the vendor strip and the side alleys, because both zones let you control the pace of engagement. The central pit is for when you already have momentum and want to extend a kill streak, not for learning the timing layer. If you want a deeper map tour, the baddies beginner roadmap breaks down each zone with screenshots and safe-path callouts.
How To Escape A Bad Engagement
Even strong players walk into bad fights, so learning the escape is as important as learning the engage. Shift-sprinting into a vendor zone is the cleanest disengage, because vendors act as soft safe spaces and the sprint drains the rival's stamina if they chase. If sprinting isn't an option, throwing a punch as you turn the corner forces the rival to either eat the hit or break pursuit to block, buying you the half-second you need to close the gap to safety.
The most reliable escape pattern, according to player reports, is a fake engage followed by an immediate pivot. Walk toward a rival like you want to fight, watch for the moment they commit to a swing, then Shift-sprint past them while they recover. This is also a foundational technique for the baddies noob to pro path, because it teaches you to read commitment windows before you try to land any real damage.
Building A Pro Mindset From Session One
A baddies pro guide mindset doesn't start with advanced tech. It starts with how you treat your first few sessions, because the habits you build in hour one become the reflexes you carry into hour one hundred. The four pillars below are what separates a player who improves every session from one who stays stuck at the same win rate forever.
| Pillar | What It Means In Practice | First-Hour Habit |
|---|---|---|
| Pattern Reading | Watching for the same animations across weapons | Practice recognizing fist-swing windups |
| Resource Discipline | Never spending a charge bar on a whiff | Track the Blue Charge Bar after every hit |
| Map Patience | Choosing when and where to engage | Spend five minutes observing the central pit before jumping in |
| Loss Review | Naming the mistake after every death | Say out loud what beat you, then queue again |
Each pillar takes a small slice of attention during your first hour, and together they create a feedback loop that the average casual player never bothers to set up. By session three, you'll be able to watch a replay of a death in your head and name exactly which step of the five-step chain failed, which is the single biggest accelerator of improvement in Baddies.
Why Cash Feels Important But Isn't Yet
Cash unlocks weapons, food, and small heals, and the temptation to grind it hard in hour one is real. But cash without timing knowledge gets spent on weapons that don't fix the underlying problem, which is the read on commitment windows. Spend the first hour on the timing layer, and the cash you earn in hour two will go further because you'll actually be able to use the weapons you buy.
If you're already at the point where cash is the bottleneck, the baddies money guide walks through the early-game money routes that don't require you to win fights. Pair that guide with this one, and your first session covers both the timing layer and the economy layer in a single sitting.
Frequently Asked Questions
What should I do in my very first minute of Baddies?
Walk, sprint, jump, and punch test targets until the Blue Charge Bar and stamina drain feel natural. Don't buy anything, don't swap to a weapon, and don't chase kills. Your first minute is for muscle memory, not progress, and the time you invest here pays off in every later session.
Is the fists tool enough to win fights as a new player?
Yes, especially in the first few hours. Fists cost nothing, build the Blue Charge Bar fastest, and never break your stamina budget. Most early-game eliminations come from a clean five-step fists chain, not from a premium weapon, so learning fists first means every weapon you pick up later feels like an upgrade rather than a crutch.
How do I stop losing trades against players with better weapons?
Stop trading head-on. Better weapons usually have longer commitment windows, which means more recovery frames after a swing. Use Shift to bait a swing, sidestep, and then punish during the recovery with two clean fist hits that feed the Blue Charge Bar. This is also the foundation of every baddies pro guide reading list, because bait-and-punish is the technique that scales with your skill instead of your wallet.
When should I buy my first real weapon?
After at least one full session of clean five-step chains with fists, and after you can name one specific mistake you made in your last three deaths. That combination means you understand the timing layer well enough to evaluate a weapon honestly, instead of buying the shiniest tool and blaming it when you lose.
Can I practice alone, or do I need a populated server?
Use a low-population server for the first ten minutes to learn the engine, then move to a high-population server for the rest of the hour. A populated server is where the real learning happens, because you can watch veterans chain the same five-step combo, read the visual cues for a fully charged Blue Charge Bar, and feel the rhythm of an active round.