Baddies throws you straight into a Roblox street brawl where every fight lives or dies on your timing, not your stats. This Baddies guide cuts through the chaos with the exact control map, the most reliable combos, and the small habits that turn a fresh spawn into a player who can actually win their first three fights. If you have been getting stomped, juggled, or knocked out before you even land a hit, the walkthrough below will reset your foundation in under ten minutes.
How a Standard Baddies Round Actually Plays Out
Baddies is a free-to-play Roblox brawler from Meow Meow Games, and according to the official Baddies game page, fights resolve through timing rather than raw stats. The whole system is built around one core loop that every new player needs to internalize before they touch a weapon.
The Five-Beat Combat Cycle
Every clean exchange in Baddies follows the same five steps, and skipping any one of them is usually why you lose. Because Baddies resolves every fight on this single melee framework, a held charge bar, a yank, a knockdown, and a stomp, the cycle functions as both your offense and your only reliable way to deplete a rival's real health pool. Treat it as a strict combo rather than a checklist: missing the hair pull means your target keeps safe distance, missing the stomp means they recover for free, and the blue charge bar only refills through landed fists hits, so ranged play or running away starves your own win condition.
-
Equip the fists tool to load the basic attack input.
-
Land hits to charge the blue charge bar that sits under your stamina.
-
Spend the bar on a hair pull to yank a rival toward you and break their spacing.
-
Wait for a rival to be knocked down from the impact.
-
Step on them to stomp and finish while they are still recovering.
That cycle is the single most important idea in this Baddies tutorial, and you will see it referenced in every weapon, every map, and every tip below. The blue bar is your real health, the fists tool is your real weapon, and stomping is your real finisher.
Why Reaction Speed Outweighs Raw Damage
Because fights resolve through timing, the player who understands the rhythm of the cycle almost always wins against a higher-stat opponent. Community testing shared by players on the Baddies Discord shows that a 30 HP player who knows the charge bar timing can beat a 100 HP player who mashes buttons. The lesson here is simple: do not panic-buy a new weapon, learn to read the bar.
What the Weekend Updates Actually Change
The Baddies walkthrough would be incomplete without flagging the cadence of the patches. The game has shipped regular weekend updates since its October 2022 launch, and the weapon pool keeps shifting. The fists tool, however, has stayed the same since day one, which is why the cycle above is still the safest foundation in any Baddies guide you read. Treat every new weapon as a side option, and treat the fists as your default.
Baddies Controls: The Full PC and Mobile Map
This is the part of the Baddies walkthrough that most new players skip, and it is exactly the part that decides whether your first hour feels smooth or frustrating. The Baddies controls are not labeled on screen, so the table below is the cleanest reference you will find anywhere.
Default PC Keybinds
| Input | Action | When You Use It Most |
|---|---|---|
| Left Mouse Button (LMB) | Light attack with equipped tool | Charging the blue charge bar |
| Right Mouse Button (RMB) or assigned key | Heavy attack / charged strike | Punishing a whiffed swing |
| Shift (hold) | Sprint | Closing distance or escaping a juggle |
| Space | Jump | Resetting pressure and baiting a missed combo |
| Number keys 1–5 | Equip tool slot | Swapping between fists, weapons, and items |
| E | Interact / pickup | Grabbing dropped cash and stomp-finish prompt |
| Q (default) | Taunt or emote | Mostly for show, but useful as a bait tool |
| Mouse Wheel | Cycle inventory | Faster than number keys mid-fight |
Default Mobile Touch Layout
| Input | Action | Notes |
|---|---|---|
| Left side joystick | Move | Roblox default; tap-and-hold to walk slowly |
| Right side joystick | Look / aim | Keep your rival centered for clean hits |
| Center attack button | Light attack with equipped tool | Same as LMB on PC |
| Second action button | Heavy / charged strike | Same as RMB on PC |
| Sprint button (icon) | Run | Equivalent to holding Shift on PC |
| Jump button (icon) | Jump | Use mid-fight to bait a swing |
| Tool wheel | Cycle equipped tool | Slower than PC but covers the same slots |
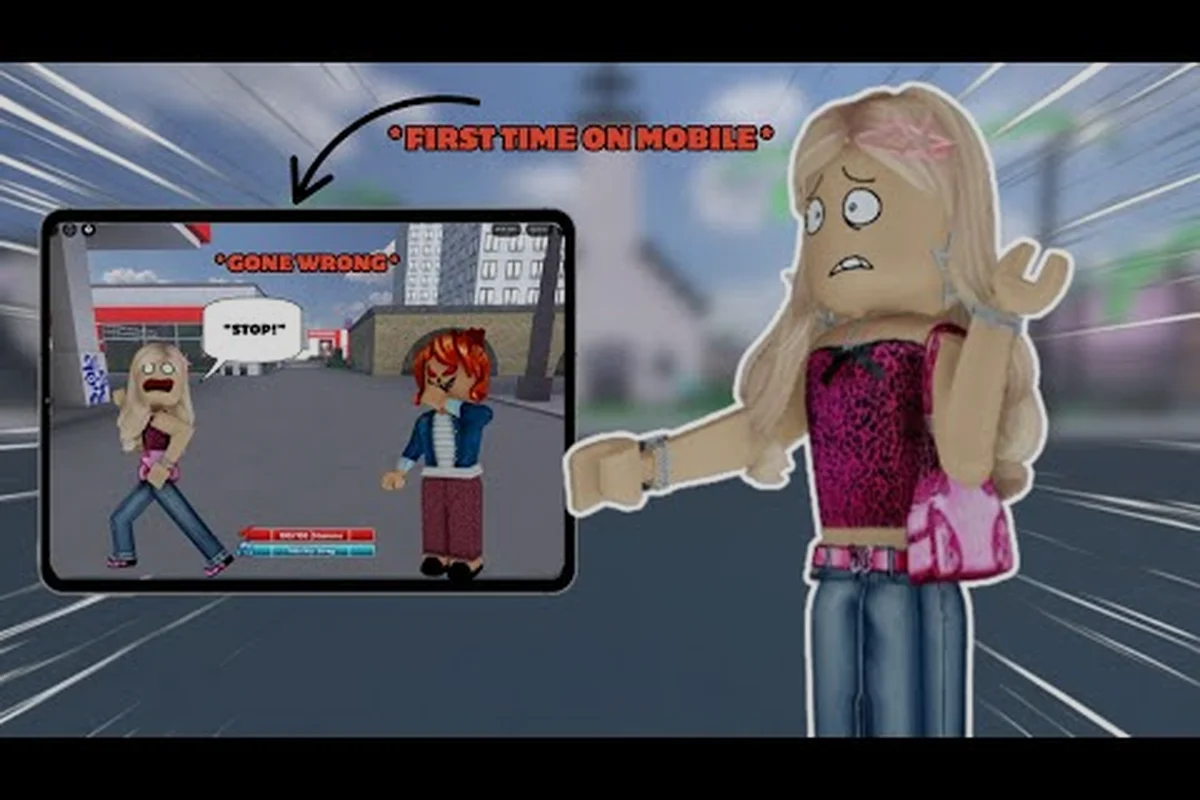
The mobile layout is essentially a port of the PC map, and a community walkthrough from randozzz covering first-time mobile play confirms that the same five-beat cycle works on touch. The only real adjustment is sensitivity: drop your look speed to about 60% on mobile so the camera does not whip past a charging opponent.
Control Habits That Win Fights
Three short habits form the muscle memory backbone of every baddies tutorial worth its salt, and each one directly addresses the input friction that traps new players in the spawn-loop: the sprint bind removes the default walk-stagger from open-map traversal, the center-mass crosshair placement keeps the LMB swing honest against the rival's shifting hitbox, and the number-key weapon swap shaves the half-second delay that decides whether you trade hits or eat a juggle. Treat them less as optional tweaks and more as the non-negotiable layer underneath any later Baddies strategy you build.
-
Bind sprint to a comfortable key and learn to hold it whenever you cross open ground; walking across the middle of the map is the fastest way to get juggled.
-
Keep your mouse on the rival's center mass, not their feet or their head, so the LMB swing always lands at the same hitbox.
-
Practice the number-key swap until you can switch from fists to a weapon in under half a second. According to community testing shared by creator nenaa in a Baddies tips and starter video, players who learn the swap early climb out of the spawn-trap loop much faster.
For a full breakdown of every binding — including mouse-DPI recommendations, mobile gyroscope toggle settings, and which keys to leave at default for the LMB swing timing — the controls-focused Baddies guide walks through the complete PC and mobile remap setup, with extra binding advice tuned to the spawn-trap meta and the half-second weapon-swap window that defines early-fight trades.
Core Baddies Combos and the Blue Charge Bar
Combos in Baddies are short, deliberate, and built around the blue charge bar. If you only learn one section of this Baddies tutorial, make it this one, because the charge bar is the engine that powers every reliable kill. Each landed hit fills a fixed segment of the meter, and chaining three light attacks into a heavy finisher at full charge triggers bonus damage plus a brief stagger window on staggered enemies, letting you extend pressure before they recover. Treat the bar as a cooldown you spend, not a resource you hoard, and your Baddies walkthrough will pivot from whiffed strings into consistent, repeatable takedowns.
What Actually Fills the Blue Charge Bar
| Stage | Visual Cue | What It Unlocks | Best Time to Spend It |
|---|---|---|---|
| Empty | Bar is flat, no glow | Nothing | Start landing LMB hits |
| One-quarter | Bar shows a thin sliver | Light pushback on hit | Save it for trades |
| One-half | Bar is half-full, soft glow | Hair pull is available | Pull a rival in for a punish |
| Three-quarter | Bar is nearly full, bright glow | Long combo window opens | Chain into stomps |
| Full | Bar flashes, audio cue | Guaranteed knockdown on heavy | Cash it for the stomp-finish |
The bar fills a little faster on clean hits and a lot slower on whiffs or blocked swings. A good rule of thumb from the Baddies community is to spend the bar at the three-quarter mark rather than waiting for full, because a full bar is wasted if the rival runs away before you can spend it.
Reliable Starter Combos
The combos below are the safest chains for your first ten matches. They all start from fists, because the fists tool is the only input that cannot be dropped on respawn — even if you swapped to a weapon on key 2 right before dying, the fists respawn as your default, which is why every reliable starter combo begins with bare-knuckle inputs before any tool swap. This means your opening two LMB presses always land cleanly, letting you confirm the blue bar before committing to a hair pull or heavy. Treat these chains as your Baddies tutorial foundation before moving to weapon-based punishes.
-
Stomp Combo: LMB x2 → wait for blue glow → hair pull → heavy attack → step on the knocked rival. This is the textbook cycle from the Baddies game page and works in nearly every 1v1.
-
Wall Punish Combo: LMB → walk rival into a wall → heavy attack → hair pull on the bounce → stomp. Walls and corners double the value of every hit.
-
Retreat Counter: Wait for the rival to swing → jump back → LMB during their recovery → blue bar spend → stomp. This is the safest way to win against aggressive mashers.
-
Two-Tool Switch: Fists LMB x3 → swap to your best weapon on key 2 → heavy → swap back to fists for the stomp-finish. This combo is harder but is what higher-skill players use once they have a real weapon.
Why the Fists Tool Stays in Slot 1
The fists tool is the only input that always lines up with the blue charge bar's animation, and that is why the community treats it as the default. Weapons can desync from the bar if you swap mid-charge, which means a partial fill is sometimes lost. Keep the fists in slot 1, your best weapon in slot 2, and an emergency escape tool in slot 3. If you want a fuller list of weapon choices, Mao's Most OP weapons in Baddies video is a useful community reference, but always test the new weapons against the fists baseline before you trust them in a real fight.
First-Win Strategy: Surviving the First Three Fights
Most new Baddies players lose their first three fights in the same handful of patterns: panicking at the round-two timer, burning the super meter too early, and forgetting to swap baddie positioning before the final clash. Recognizing these three choke points — and reviewing the controls chart in this baddies tutorial for the exact dodge and block windows — is what separates a flailing first match from a clean first win. Treat this section of the baddies walkthrough as a checkpoint: once you stop repeating these mistakes, the rest of the match opens up.
Three Ways New Players Die Fast
| Death Type | What Happens | How to Avoid It |
|---|---|---|
| Spawn trap | Rival is waiting at your spawn | Spawn → immediately sprint, never walk |
| Juggle loop | Rival keeps hitting you mid-air | Jump sideways, never straight up |
| Cash greed | You chase a dropped wallet and get punished | Pick up only after the rival is downed |
These three deaths account for the majority of early losses, according to player reports compiled across Roblox Baddies community threads. The fix is not a better weapon, it is a better habit. Once you memorize the three reaction chains above (sprint on spawn, sideways jump instead of vertical, and only grab the wallet after the rival is downed), your early-match survival rate jumps dramatically, because almost every "cheap" death in the first 60 seconds of a Baddies round is actually a positioning mistake, not a loadout problem. Treat the table as a reflex drill, not optional reading.
A 60-Second Warm-Up Routine
Before you queue into your first real fight, spend one minute in a low-stakes area running through this routine: a quick pre-match control sweep where you verify the fists tool combo, weapon swap, and jump reset inputs all respond, because misbinding your LMB or accidentally holding a non-fists slot is the most common reason players lose their opening trade in any baddies walkthrough. Treat it as a mandatory health check on your bindings before ranked.
-
Spawn and sprint away from your drop point for 3 seconds.
-
Jump twice to reset your hitbox and confirm the jump button is responsive.
-
Tap LMB three times to confirm the fists tool is equipped and the blue bar is filling.
-
Spend the bar on a hair pull against any nearby NPC or passive player to confirm the combo input.
-
Switch to slot 2 once to test that your weapon swap is working, then switch back to fists.
This 60-second warm-up catches almost every control mistake before it costs you a match, from a swapped scroll-wheel weapon bind to a sticky jump that delays your reset, and it is the single most repeatable habit in this Baddies guide because the same five inputs cover every scenario you will face in early trades, retakes, and outnumbered 1v2 swings.
Watching an Opponent's Charge Level
Once you are in a real fight, the rival's blue bar is the most useful piece of information on screen. If it is empty, they cannot hair pull you, which means you can play aggressive. If it is full and glowing, they are one input away from a knockdown, so step back, bait the swing, and punish the recovery. According to the Baddies official game page, fights resolve through timing rather than raw stats, which means reading the bar is the cleanest way to convert timing into wins. The complete Baddies walkthrough for ranking up and handling tougher lobbies lives in the Baddies strategy walkthrough, which builds directly on these first-win habits.
Baddies Weapons, Gear, and What to Skip
Weapons shift with every weekend update, so the goal of this section is to teach you how to evaluate new gear, not to memorize a static tier list. Once you know the framework, any Baddies tutorial that drops next month will still make sense.
The Three Weapon Archetypes
| Archetype | Strength | Weakness | Best Use Case |
|---|---|---|---|
| Reach weapons (long bats, poles) | Control space, punish whiffs | Slow to swing, weak to dashes | Holding a corridor or a wall |
| Speed weapons (short blades, fast fists) | Fast charge bar fill | Low damage per hit | 1v1 trades and stomp-finishes |
| AOE weapons (hammers, ground pounds) | Multi-hit knockdown | Easy to sidestep | Group fights and pile-ups |
Pick one weapon from each archetype, learn it against the fists baseline, and rotate based on the map. The most common beginner mistake, reported across the Roblox Baddies community, is chasing the "OP" weapon from videos and never learning any of them properly.
Gear Slots Worth Upgrading First
Baddies ships with several cosmetic and stat gear slots, and the order below is the cheapest path to your first consistent win. Think of these four upgrades as a priority queue rather than a flat shopping list, since each one directly removes one of the most common ways new players lose a run in the baddies walkthrough: drifting fists, slow repositioning, whiffed stomps, and cash lost on the floor. Buying them in this sequence also keeps the baddies tutorial's early economy honest, because you stop spending on the pickup radius before you can even confirm the other three are paying off.
-
Fists tool upgrade — keeps the blue charge bar animation in sync, the highest-value upgrade in the game.
-
Sprint speed boost — shortens the time you spend in the open, which directly cuts your death rate.
-
Stomp damage upgrade — turns a knockdown into a guaranteed kill, which is the most reliable finisher in the game.
-
Cash pickup radius — only useful once you already know how to win fights, so save it for last.
For the full money-farming route that funds these four gear upgrades, the Baddies money guide walks through the cash loops that new players actually use, breaking down per-match income by lobby size, the exact respawn timers on the map's highest-value money tiles, and how to chain the baddies walkthrough's mid-run pickups without breaking combo state or triggering the baddies tutorial's anti-farming cooldown that quietly caps your hourly rate if you farm a single hotspot for too long.
What to Skip Until You Are Intermediate
-
Taunt and emote gear — fun, but they do not help you win fights.
-
Rare drop weapons — most are stat clones of the fists tool with a different skin.
-
Map-specific gadgets — useful only after you have memorized at least two maps.
If you want the deep dive on map-specific movement and the circle method that experienced players use, that is the next stop on the Baddies walkthrough path. That separate guide breaks down how strafing speed, corner-cutting angles, and circle-strafing around melee baddies directly extend the safe window between dodge rolls, which is the real reason intermediate players start winning 1v2 and 1v3 fights once their map knowledge clicks.
Frequently Asked Questions
What is the best starter weapon in Baddies?
The fists tool is still the best starter because it lines up perfectly with the blue charge bar and works in every 1v1. New weapons can be tested in slot 2, but the fists should stay in slot 1 for the first 20 hours of play according to community data.
How do the Baddies controls differ between PC and mobile?
The Baddies controls map almost 1:1, with LMB mapped to a center attack button, Shift mapped to a sprint icon, and the number keys mapped to a touch wheel. The only real difference is sensitivity, which should be lowered on mobile to keep the rival centered on screen.
What does the blue charge bar actually do?
The blue charge bar is the resource that powers the hair pull, the heavy attack, and the stomp-finish. It fills when you land clean hits with the fists tool and empties when you spend it on a combo, which is why every Baddies tutorial treats the bar as the core timing mechanic.
How long does the average Baddies match last?
Most public matches last between 60 and 180 seconds, according to community testing reported by players on YouTube and Roblox group chats. Fights are short, which is exactly why learning the charge bar timing matters more than grinding for a stronger weapon.
Can I remap the Baddies controls?
Yes, the standard Roblox remap menu lets you reassign almost every input, and most intermediate players rebind sprint to a side mouse button for faster access. Just keep the fists tool on the LMB-equivalent button so the charge bar timing never desyncs.