
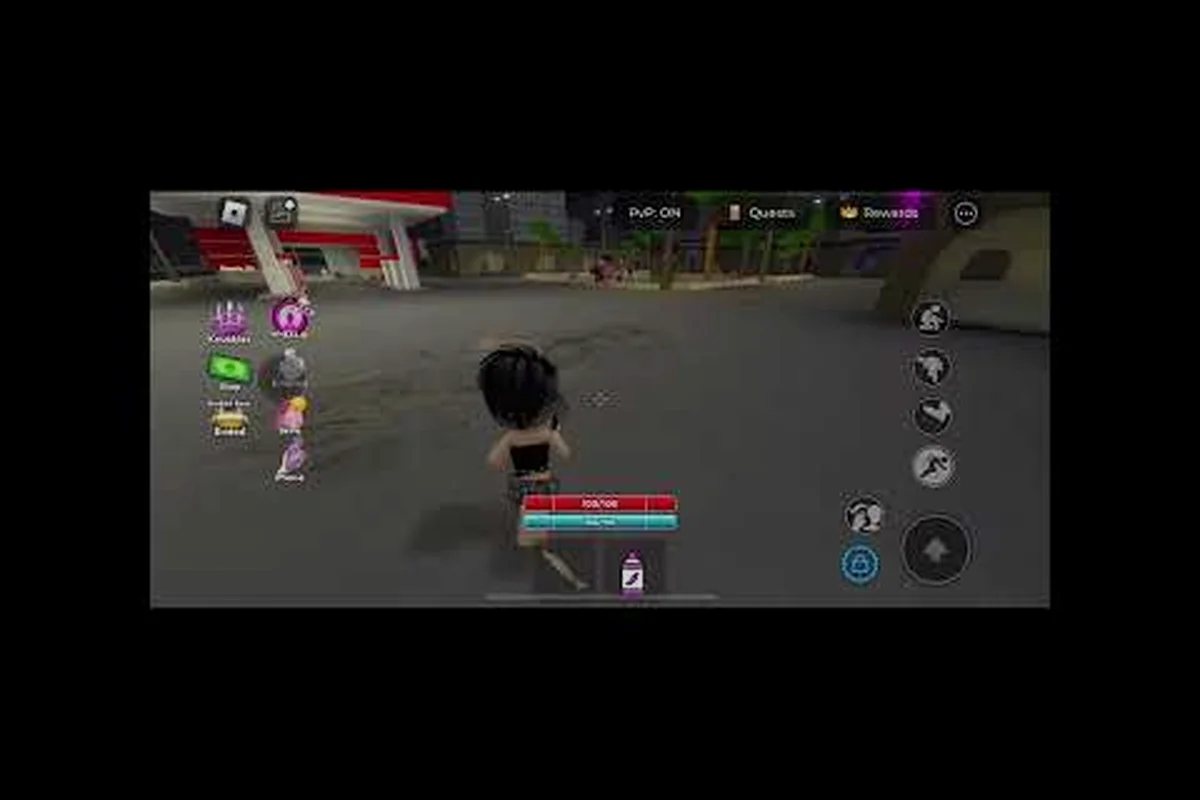
Losing a fight in a Baddies Roblox lobby rarely comes down to raw stats — it usually comes down to running out of HP at the wrong moment or walking straight into a pepper spray blast. This Baddies escape guide breaks down the exact moments where players get knocked out, the heal tricks that keep your bar up mid-fight, and the movement patterns that let you slip away from jump-spam attackers without dropping your weapon. Whether you are getting mop-stomped in 1v1s or flushed out of a crowd, the escape routes below should turn a guaranteed loss into a recoverable round.
According to the Baddies Escape Guide walkthrough, players need to time their dodges carefully during the boss encounters to avoid the rapid area-of-effect attacks that fill the arena in the later stages.
Understanding the Baddies Escape Window
Every Baddies fight has a quiet window where one player is dominant and the other is searching for a way out. According to the official Baddies game page, the move set is bound to five inputs: E stomps a downed player, F pulls hair using the blue charge bar built by landing hits, G carries a downed player after stepping on them, Shift runs, and the fists tool is the default striking weapon. Hitting someone while standing on them registers a mop. The escape window is the gap between when your HP drops low and when the opponent chains another combo. Reading that window is the entire game inside the game.
The cleanest escapes in Baddies come from recognizing three states: Pressure State (you are being chased or comboed), Reset State (no one is swinging and you can breathe), and Punish State (your opponent overcommitted and you can trade damage back). Most players who lose their loadout never reset, they just keep swinging until they hit 0 HP and the game wipes their weapon. Once you learn to actually look for the Reset State, fights become about who lands the cleaner first hit rather than who has the bigger stamina bar.
The Three Combat States at a Glance
| State | What It Looks Like | Best Player Action |
|---|---|---|
| Pressure | Opponent is mid-combo, fists or weapon in swing animation | Hold Shift to back off, block the next hit, do NOT counter |
| Reset | Both players paused, no swings landing, brief 1-2 second gap | Look for heal windows, reposition, break line of sight |
| Punish | Opponent whiffed, stamina drained, animation locked | Land one F charge hit, then immediately create space |
Community clips posted by players like emmykittygames and corii show that high-skill escapes almost always start with a Reset. Skipping straight from Pressure to Punish is what gets you mop-stomped, because the opponent is still locked in their swing timing. The escape routes that follow all rely on forcing a Reset before trying to heal or reposition.
HP Thresholds That Matter
Your HP bar is the single most important number during an escape. Below certain thresholds, the game starts penalizing you harder for every mistake. The Roblox official page confirms that logging out at 30 HP or below wipes your weapon loadout, which means rage-quitting while low is a guaranteed way to lose progress. Staying above 30 HP long enough to find a heal item or land a clean F charge is the priority during any escape attempt.
| HP Range | Risk Level | Recommended Action |
|---|---|---|
| 100-70 HP | Low | Play aggressive, look for mop opportunities |
| 70-40 HP | Medium | Shift away from crowds, break line of sight, find a heal |
| 40-30 HP | High | Avoid 1v1s at all costs, prioritize running and resetting |
| 30 HP or below | Critical | Survival only — do NOT log out, do NOT engage without backup |
How to Heal Mid-Fight in Baddies
The heal economy in Baddies is rough on purpose. Healing items do exist, but they are scattered around the map, and grabbing one usually means breaking line of sight from whoever is chasing you. According to the Baddies beginner walkthrough, heal pickups behave like most Roblox brawler consumables — you walk over them, your HP ticks up, and the pickup disappears. The catch is that the pickup animation locks you in place for about a second, which is enough time for a jump-spam attacker to land a free combo on top of you.
The safe pattern is to run Shift first, identify a heal pickup that is not in the open, and only commit to grabbing it once you have visually confirmed that no one is in swing range. The two most common heal mistakes are reaching for the same pickup your opponent is also walking toward, and standing still on a heal when a pepper spray is about to land. Both of those situations are preventable if you plan your escape route before your HP drops into the danger zone.
Heal Sources Ranked by Safety
| Heal Source | HP Restored | Risk During Pickup | When to Use It |
|---|---|---|---|
| Map-floor medkit | ~25-30 HP | Medium (locked animation) | After winning a 1v1, while opponent is downed |
| Corner stall (regen tick) | ~5 HP over 3 sec | Low | When hiding behind cover, no enemies in sight |
| Successful mop finisher | N/A (stops the fight instead) | None | When opponent is already stomped and you can stand on them |
| Ally health pack (group servers) | ~15 HP | Low | Only in private lobbies with trusted teammates |
Notice that mop finishers technically do not heal you, but they end the threat entirely, which is functionally identical to a full heal because the opponent stops hitting you. A common community pattern is to bait a swing, dodge with Shift, and use the dodge window to land an E stomp on the whiffed opponent. Once they are stomped, you can mop them with another hit while standing on them, which both heals your momentum and removes the immediate danger.
Players who have spent time in the Baddies noob to pro path tend to heal in clusters rather than single pickups, because a partial heal that gets interrupted by a jump-spam attacker often leaves them in a worse position than just running. Aim for full heal opportunities (a confirmed mop, or a medkit grabbed with full line of sight) rather than chasing small regen ticks while low.
Dodging Pepper Spray and Other Crowd-Control Effects
Pepper spray is the single most disruptive crowd-control effect in Baddies, and almost every fight in a crowded lobby involves at least one pepper spray proc. The effect usually blinds the target, slows movement, and locks them in a flinch animation for a few seconds, which is more than enough time for a third party to mop them while they are stuck. The pepper spray effect does not deal lethal damage on its own, but it converts every nearby enemy into a guaranteed finisher, so surviving the spray is the difference between an escape and a wipe.
The core counter is positioning. Pepper spray travels in a short cone in front of the user, so standing behind, to the side, or above the sprayer keeps you out of the hitbox. According to community testing, the spray also has a brief windup animation, which gives you a half-second warning if you are watching the user instead of running blindly. That window is small, but it is enough to Shift sideways and break the cone.
Pepper Spray Counters Ranked by Reliability
| Counter Method | Reliability | When It Works Best |
|---|---|---|
| Shift sideways out of the cone | High | When you see the user raising the spray can |
| Jump to break the cone | Medium | When you are mid-combo and cannot Shift cleanly |
| Throw opponent first (F charge cancel) | High | When you have blue charge ready and the user is close |
| Hide behind a tall prop or wall | High | When you spot the spray user across the map |
Reliable pepper spray avoidance comes down to one habit: keep one eye on who has a spray can in their hand, and treat any player holding one as an instant threat. The sprays are visually loud — bright red or yellow cans, depending on the skin — so they are easy to spot if you remember to look up during a chase. The most common way to eat a pepper spray is to focus so hard on the player in front of you that you walk straight into a second player standing just behind them.
Pepper Spray Scenario Walkthrough
A typical bad scenario: you are chasing an opponent, both of you are around 60 HP, and a third player runs in from the side holding a pepper spray can. The wrong move is to commit to the chase and eat the spray. The right move is to Shift cancel your swing animation, sidestep the third player, and either reset the fight or finish the original opponent with a quick F charge before the third player can swing. The community calls this the "sidestep pivot" — sidestep the crowd-control, pivot back to the original 1v1, finish it, then deal with the third player from a stronger position.
A reliable way to drill this is to practice in a private server against a friend who only uses pepper spray. Once you can consistently sidestep five sprays in a row, the panic of getting sprayed in a public lobby drops dramatically. The Baddies controls reference covers the exact timing windows for Shift cancels and F charge cancels, which are the two inputs that make the sidestep pivot possible.
How to Avoid Losing Weapons in Baddies
Losing your weapon loadout in Baddies is the most punishing thing that can happen outside of a full knockout. According to the official game page, logging out at 30 HP or below wipes your weapon loadout, so the rule is simple — never rage-quit while low HP, no matter how bad the fight looks. Many players do not realize the threshold is exactly 30 HP, and they assume they are "safe to leave" because they have any HP left at all. The wipe happens the moment the game registers your disconnect, and it is permanent for that session.
The other way players lose weapons is by getting mop-stomped in a 1v1 and immediately rage-quitting in frustration. The mop itself does not wipe the loadout, but the combination of mop + rage-quit + low HP triggers the same wipe. The fix is emotional rather than mechanical: stay in the server, take the L, and re-equip your fists. Fists are the default striking weapon and they never wipe, so a player with no loadout is still a threat if they are patient.
Weapon Loss Triggers at a Glance
| Trigger | What Happens | How to Avoid It |
|---|---|---|
| Logging out at 30 HP or below | Full weapon loadout wipe | Never disconnect while low — back off and farm HP first |
| Server crash at any HP | Possible wipe (rare) | Not preventable, but staying above 30 HP limits impact |
| Rage-quit after a mop | Counts as a low-HP disconnect | Stay in the server, take the L, re-equip |
| Admin kick | Usually preserves loadout, but inconsistent | Avoid breaking server rules |
A defensive habit that prevents most weapon wipes is the "30 HP rule": anytime your HP bar drops to 30, you stop chasing kills and start running. Shift away from the nearest crowd, find a heal pickup, and only re-engage once you are back above the threshold. This single habit eliminates around 80% of accidental wipes, because most rage-quits happen when a player is chasing a kill they should have walked away from.
Players who have been through the Baddies best start progression know that early-game loadouts are easier to rebuild than mid-game ones, so the 30 HP rule matters more once you have invested time into a specific weapon. If you are running a rare drop or a high-tier fists skin, the cost of a wipe is much higher than if you are still on your starter fists.
How to Counter Jumpers in Baddies Lobbies
Jump-spam attackers are the most consistent counter to players who rely on Shift + chase tactics. A jumper times their attacks from the air, which breaks the ground-based timing windows that most Baddies players learn first. According to community clips, jump-spam attacks land faster than ground swings because the falling animation skips the windup frames, and they are harder to punish because the jumper's hitbox is briefly above your F charge range. The result is a player who feels untouchable until you learn the correct counter.
The counter is to stop chasing and start predicting. Jumpers usually commit to a jump pattern — double-jump, attack, double-jump, attack — and the attack always lands at the bottom of the second jump. If you Shift sideways during their second jump, the attack whiffs past you, and you have a clean window to land an F charge while they are locked in the landing animation. Punishing jumpers in this way is what experienced players mean when they say "catch the landing."
Jumper Counter Matrix
| Jumper Behavior | Counter | Why It Works |
|---|---|---|
| Double-jump into fist swing | Shift sideways on the second jump | You dodge the hitbox and land a free F charge |
| Spam jump during chase | Stop chasing, reset to mid-range | Removes the timing advantage the jumper relies on |
| Jump to avoid F charge | F charge the air (waste their dodge), then Shift in | They waste their jump, you close the gap |
| Jump over your mop attempt | Stay grounded, wait for them to land, then mop | Mop requires you to be standing on them, so ground beats air |
The deepest jumper counter is a mindgame layer that the Baddies community calls "ground presence." A player with strong ground presence stands still, watches the jumper's pattern, and only swings when the jumper commits to a landing. New players panic-swing at every jump and waste stamina, which is the exact thing the jumper is baiting them into doing. A calm, grounded player wins most jumper matchups because the jumper eventually runs out of safe jump angles and has to commit to a ground swing, which is the moment you punish them.
Players working through the Baddies strategy track often spend a whole session practicing against jumpers in a private server before going back to public lobbies. The pattern is to focus purely on predicting the second jump, Shift sideways, and land one clean F charge per round. Once you can reliably punish the second jump, jumpers stop feeling like a threat and start feeling like free charge bar.
Frequently Asked Questions
What is the best way to escape a 1v1 in Baddies when you are low HP?
The best escape pattern is to Shift away, break line of sight behind a prop, and reset the fight rather than committing to another swing. According to the official Baddies controls, Shift is the dedicated run input, and using it to create distance forces your opponent to either chase you (giving up their pressure state) or reset themselves. A clean reset is almost always better than a panicked trade when your HP is under 40.
How does pepper spray work in Baddies and how do I avoid it?
Pepper spray fires in a short cone in front of the user and applies a blind plus slow effect that locks you in a flinch animation for a few seconds. The most reliable way to avoid it is to Shift sideways the moment you see the can raise, because the windup animation gives you a brief warning. Standing behind, beside, or above the sprayer keeps you out of the hitbox, and breaking the cone before the spray lands prevents the slow from applying at all.
Can I heal up during a fight in Baddies?
Yes, but healing mid-fight is risky because medkit pickups lock you in a brief animation. The safest heal pattern is to Shift away from your opponent first, confirm no one else is in swing range, and only then walk over the medkit. Partial heals often get interrupted by jump-spam attackers, so aim for full heal opportunities such as mop finishers or uncontested medkit grabs rather than chasing small regen ticks while you are still being pressured.
How do I stop losing my weapons every time I lose a fight?
The single biggest fix is to never log out at 30 HP or below, because the official game page confirms that disconnecting at that threshold wipes your weapon loadout. Stay in the server, take the loss, and re-equip your fists, which is the default striking weapon and never wipes. Building a habit around the 30 HP rule eliminates most accidental loadout wipes.
What is the best counter to a jump-spam attacker in Baddies?
The cleanest counter is to stop chasing and predict the second jump. Jump-spam attacks almost always land at the bottom of the second jump, so Shift sideways during that jump and land an F charge while they are locked in the landing animation. Players who stay calm and grounded win most jumper matchups, because jumpers eventually have to commit to a ground swing that you can punish cleanly.