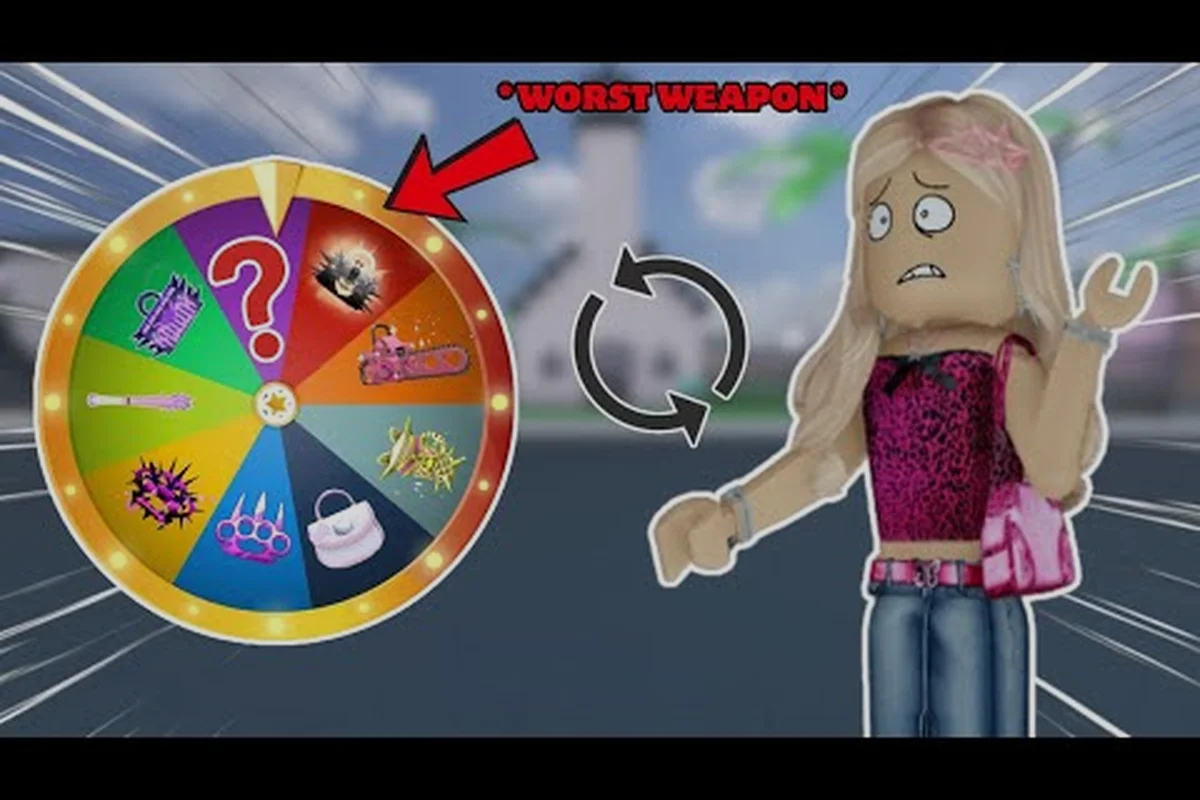
Running a Baddies private server gives your crew full control over the lobby — pick a clean custom Roblox map, ban randoms, and grind weapon skins without outside interference. The trick is getting the launcher toggles right the first time, because the default Roblox settings tend to tank frame rates and make aim feel sluggish on PC. This Baddies private server walkthrough covers how to spin up a solo instance, dial in the right in-game graphics and mouse sensitivity, and repair the avatar reset glitch that wipes equipped skins when you rejoin. Players who set things up properly report steadier fights, fewer rubber-band deaths, and a far smoother time testing loadouts with friends before pushing ranked.
Why a Private Server Is Worth the Setup
A private Baddies server is more than a vanity toggle — it changes how the game actually behaves. Public lobbies rotate maps every few rounds, force you to wait through queue timers, and fill the server with players who may grief, spam, or quit mid-match, which throws off your weapon-skin grind and ruins the rhythm of a session. On a private server, you choose the map, lock the player count, and keep the same crew for hours, which is why most competitive players treat it as a training room before they touch public matchmaking.
The second reason is bug isolation. The Baddies support knowledge base repeatedly points out that the most common issues — weapons vanishing, avatar resets, game passes not applying — map to known systems rather than glitches, and they tend to surface more often in crowded public servers. Running a clean private instance strips the noise away, so you can tell whether a problem is your settings or actual game behavior. If a weapon disappears on private, the cause is almost always logging out at 30 HP or below, which is the designed penalty; if a pass fails to apply, the fix is a full rejoin, not a settings tweak.
| Public Lobby | Private Baddies Server |
|---|---|
| Random map rotation | Pick any custom Roblox map |
| Queue and wait time | Instant join, zero queue |
| Random players and griefing | Invite-only crew, full kick control |
| Default settings, harder to test loadouts | Custom graphics and mouse sensitivity per session |
| Avatar reset glitches more common | Cleaner rejoin flow, easier to reproduce bugs |
Private servers also make it easier to test the same loadout against a friend repeatedly, which is the only way to feel out weapon balance before you spend Robux on skins. According to the official Baddies game page, the developer recommends isolating bugs on private instances before posting reports, and the studio's randozzz's Baddies footage is the stated channel for sending those reports once you confirm the problem reproduces.
How to Make a Private Server in Baddies
Creating a Baddies private server follows the same Roblox flow as most games, but a few details trip players up. The first step is to open the Baddies game page in the Roblox client or browser, hover over the green play button, and look for the small dropdown arrow on the right edge. From that menu, select Create Private Server or Create VIP Server, give it a name, and confirm the Robux price if the game charges for the option. Baddies does not require a monthly fee for the basic private server tier, so most players see the option open up at no extra cost on top of the standard Roblox Premium rules.
After the server is created, the next step is to share access. Open the game page, find your new private server in the My Private Servers tab, and copy the invite link. Send it to friends directly through the Roblox friend list rather than posting it in a public chat, because anyone with the URL can join if the permissions are set to public. If the wrong players slip in, hit the gear icon next to the server name, switch Join Permissions to Friends Only, and kick the intruder from the in-game menu.
Server Creation Checklist
-
Confirm you are signed into the Roblox account that owns the game pass or Premium if needed.
-
Open the Baddies game page and click the arrow beside the green Play button.
-
Choose Create Private Server, name it something easy to identify, and save.
-
Open Game Settings for the new server, set Join Permissions to Friends Only if you do not want randoms.
-
Copy the invite URL and share it through Roblox DMs to keep the link off public platforms.
-
Launch the server, then tweak Graphics Quality, Mouse Sensitivity, and any in-game sliders before the first match.
If the option is missing, the most common reason is an outdated Roblox client. Force-quit Roblox, reopen it, and try again. Players on the mobile client cannot create a private server — the button only appears on PC and the browser, which is worth noting if your crew runs mixed devices.
Baddies Settings Guide: Where Everything Lives
The Baddies settings menu is split across three layers: the in-game pause menu, the Roblox client settings panel, and the operating system. Most performance and sensitivity complaints come from players changing the wrong layer, so it helps to know which menu controls what before you start moving sliders.
The in-game pause menu is where you find Graphics Quality, Camera Sensitivity, UI Scale, and Show FPS. These settings travel with your account, so they persist when you rejoin, which makes the private server the right place to test them. The Roblox client settings (gear icon at the top of the launcher) handle Rendering Mode, Graphics Mode, and Mesh Quality, and these affect every Roblox game, not just Baddies — changing them in one place changes them everywhere. The operating system layer covers monitor refresh rate, VSync, mouse DPI, and any third-party mouse software like Razer Synapse or Logitech G Hub, which override the in-game slider if they are set to a fixed DPI.
| Setting Layer | Where to Find It | What It Controls |
|---|---|---|
| In-game pause menu | Esc → Settings | Graphics Quality, Mouse Sensitivity, UI Scale, FPS counter |
| Roblox client | Gear icon → Settings | Rendering Mode, Graphics Mode, Mesh Quality, fullscreen toggle |
| Operating system | Display + mouse software | Refresh rate, VSync, mouse DPI, acceleration curve |
The Baddies settings guide approach is to start from the OS layer, lock the basics there, then move up. If the mouse DPI is bouncing between 400 and 1600 every time you swipe, no in-game slider will feel right. Pin the DPI in your mouse software first, then change the in-game sensitivity, and you will get a stable aim curve. The same logic applies to monitor refresh rate — a 144 Hz display with VSync off in the OS but locked at 60 FPS in Roblox wastes the panel, so unlock the FPS cap inside the Roblox client before blaming the game.
Common Misconceptions
-
"Bigger mouse sensitivity = better aim." False — too high a value makes micro-adjustments impossible, which is the main cause of whiffed weapon swaps.
-
"Lowering graphics means uglier gameplay." Mostly false — the difference between quality levels in Baddies is small, but the FPS gain is large, so most competitive players drop to the second-lowest tier.
-
"Settings carry between devices." False — Roblox saves per-account, but the mobile client ignores most PC sliders, so a config that feels great on desktop will not transfer to a phone.
If you are new to the broader menu layout, the Baddies beginner guide walks through the same pause menu in step-by-step form, which makes it a useful reference if you want a screenshot-style walkthrough alongside this written version.
Baddies Graphics Settings for Stable FPS
Graphics are the single biggest lever for frame rate, and Baddies runs hot on weaker hardware because the lighting engine pushes a lot of dynamic shadows at the default quality. Dropping Graphics Quality to level 3 out of 6 gives most laptops a 25-40% FPS boost with almost no visual change, which is the sweet spot for players who want to keep the weapon-skin glow effects without tanking performance. Level 1 strips the glow entirely, which is a noticeable downgrade for cosmetic-heavy play but useful for a training server where cosmetics do not matter.
The Roblox client side is where the real performance lives. Open the gear icon → Settings, and switch Graphics Mode from Automatic to Manual. Set Quality Level to the lowest setting that still looks acceptable, then raise it one step at a time until you see the FPS counter drop below 60. Players with dedicated GPUs almost always end up at level 4-5, while integrated graphics players stay at level 1-2. The Mesh Quality slider below it controls how detailed character models render — leaving it at level 4 is fine for casual play, but competitive players drop it to 1 to reduce clutter during fast fights.
Quick Graphics Presets
| Hardware | In-Game Quality | Client Quality | Mesh Quality | Expected FPS |
|---|---|---|---|---|
| RTX 3060 / RX 6700 and up | 6 (Max) | 5-6 | 4 | 144+ |
| GTX 1650 / RX 580 | 4-5 | 3-4 | 3 | 90-120 |
| Integrated UHD 620 | 3 | 1-2 | 1 | 45-60 |
| Older laptops (8 GB RAM) | 2-3 | 1 | 1 | 30-45 |
The presets above are a starting point, not a hard rule. Use the in-game Show FPS toggle to confirm your real frame rate, and remember that Baddies can spike CPU usage when a lot of players are clustered in a small area, so a private server with 4-6 friends is the easiest place to test stability. For players who want to dig deeper into the Roblox client, the Baddies how to change settings section below covers the exact clicks for the most common sliders.
Baddies Mouse Sensitivity and Aim Tuning
Mouse sensitivity is the most personal setting in the game, and the value that feels right for one player will feel sluggish or twitchy for another. The general rule is to start at a base DPI between 400 and 800, then adjust the in-game Camera Sensitivity until a 360-degree turn takes about 20-30 cm of mousepad travel. Players who main controllers need to multiply the in-game slider by 1.5x because the stick acceleration curve feels different from a mouse, but most PC players stay in the default 0.4-0.6 range.
The hidden trap is Mouse Acceleration, which Windows enables by default under Settings → Mouse → Additional Mouse Options → Pointer Options. The "Enhance pointer precision" checkbox adds acceleration that overwrites the in-game slider, so turn it off before tuning. Once that is off, your DPI is fixed, your in-game slider is fixed, and the only variable left is the muscle memory you build over time. Most competitive players lock everything for at least a week before changing a single value, because aim drift usually comes from changing settings too often, not from a bad starting value.
Sensitivity Test Checklist
-
Open Windows Mouse Settings, click Additional Mouse Options, and uncheck Enhance pointer precision.
-
Open your mouse software (Razer Synapse, Logitech G Hub, etc.) and set DPI to a fixed value, not a range.
-
Launch a private Baddies server, open the pause menu, and set Camera Sensitivity to 0.5 as a baseline.
-
Run a 360-degree turn test — mouse from one edge of the pad to the other should complete roughly one full turn.
-
Adjust in increments of 0.05 until the feel matches your muscle memory, then leave it alone for at least 5 sessions.
Players who fight with a high DPI mouse (1600+) tend to want lower in-game sensitivity to compensate, while low-DPI players raise the slider a bit. The trick is to avoid the "high everything" trap — a 1600 DPI mouse with 1.0 in-game sensitivity is uncontrollable in Baddies because the camera moves too fast for the weapon swap animation to keep up. The Baddies mouse sensitivity topic comes up constantly in community threads because the default Roblox acceleration curve fights the in-game slider, so flattening the OS layer first is the fix that actually sticks.
How to Fix the Baddies Avatar Reset Glitch
The avatar reset glitch is one of the most reported issues in Baddies, and it usually surfaces right after a rejoin or a private server switch. The symptom is familiar: you log in, your equipped weapon skins, accessories, and the cosmetic glow effects are all back to the default loadout, and any game-pass cosmetic you paid for is grayed out. The first instinct is to assume the game pass failed, but according to the official support notes, the actual cause is almost always a session-state desync, not a payment issue.
The fastest fix is to leave the server, wait ten seconds, and rejoin. That rejoin forces a fresh read of your inventory, which clears the stale session data the glitch is built on. If the reset persists, the next step is to verify the game pass on the Roblox website. Open the Baddies game page, scroll to the Game Passes section, and confirm the pass is listed under your account. If the pass shows up but the cosmetic still will not apply, the fix is a full Roblox client restart, not a settings change — quit the launcher entirely, reopen it, and the pass should reapply on the next join.
Reset Fix Steps
| Step | Action | Why It Works |
|---|---|---|
| 1 | Leave server, wait 10 seconds, rejoin | Forces a fresh inventory read |
| 2 | Verify game pass on the Baddies game page | Confirms the pass is bound to your account |
| 3 | Fully quit and restart the Roblox client | Clears the local session cache |
| 4 | Re-equip the skin from the inventory tool slot | Items that will not equip can be selected directly from the inventory tool slot |
| 5 | If the problem still reproduces, report it in the Meow Meow Games! group | The studio uses that channel for confirmed bug reports |
Items that will not equip can be selected directly from the inventory tool slot, which is the official workaround the developer has confirmed for the most stubborn reset cases. If you are running a private server, the cleanest test is to invite a single friend, replicate the reset, and capture the exact steps before posting to the Meow Meow Games! community group, because the developer prioritizes reproducible reports over anecdotal complaints. For players who want a deeper look at the cosmetic side of the reset, the Baddies shop cosmetics breakdown covers which skins are most likely to desync and which ones hold their state through rejoins.
Putting It All Together: A One-Session Setup
A clean one-session setup takes about ten minutes, and it pays off across every future match. Start by spinning up the private server, then drop into the lobby, open the pause menu, and work your way down this order: Graphics Quality first (drop to 3-4 unless you have a strong GPU), then Camera Sensitivity (start at 0.5 and tune), then UI Scale (raise it if you play on a 1440p or 4K monitor, because the default UI is small). After the in-game layer, jump to the Roblox client settings and lock Graphics Mode to Manual with a stable Quality Level and Mesh Quality that match your hardware.
The last step before you invite friends is the mouse. Open your mouse software, pin the DPI, and turn off Windows pointer precision. Join a private server, run a 360-degree turn test, and adjust in 0.05 increments until the feel is right. From there, run a few warm-up fights with a friend to confirm FPS is stable, then bring the crew in. By the end of the session, you will have a settings profile that travels between Baddies private servers, holds through rejoins, and avoids the worst of the avatar reset glitch.
This is the setup most competitive players end up with after a few weeks of trial and error, and it is the same approach the developer recommends for isolating support tickets. A private server, a clean graphics profile, a locked mouse curve, and a verified inventory read are the four pillars of a stable Baddies session — once those are in place, the rest of the grind (skins, ranks, weapon balance testing) becomes much smoother.
Frequently Asked Questions
How do you make a private server in Baddies?
Open the Baddies game page, click the dropdown arrow next to the green Play button, and choose Create Private Server. Name it, set join permissions to Friends Only, share the invite link through Roblox DMs, and launch. The mobile client does not show the option, so you will need a PC or browser session to create the Baddies private server.
What are the best graphics settings for stable FPS?
For most mid-range hardware, drop in-game Graphics Quality to 3 or 4, switch the Roblox client to Manual, set Quality Level to 3, and lower Mesh Quality to 1. The frame rate gain is significant while the visual difference is small, and the FPS counter in the pause menu will confirm whether you need to drop another step.
What mouse sensitivity should beginners use?
Start with a fixed DPI between 400 and 800, turn off Windows pointer precision, and set the in-game Camera Sensitivity to 0.5. A 360-degree turn should take about 20-30 cm of mousepad travel. Adjust in 0.05 increments and lock the value for at least a week before changing it again, because aim drift usually comes from constant tweaks, not from a bad starting point.
How do you fix the Baddies avatar reset?
Leave the server, wait ten seconds, and rejoin to force a fresh inventory read. If the reset persists, verify the game pass on the Baddies game page, fully restart the Roblox client, and re-equip the skin from the inventory tool slot. Items that refuse to equip can be selected directly from the inventory tool slot, which is the official workaround for the most stubborn cases.
Where should I report bugs that still reproduce on a private server?
Post to the Meow Meow Games! community group, which is the developer-stated channel for confirmed bug reports. Include a short video, the exact reproduction steps, and whether you were on a public or private server when the bug fired, because the studio prioritizes reproducible reports and replies faster to ones that are isolated on a Baddies private server.